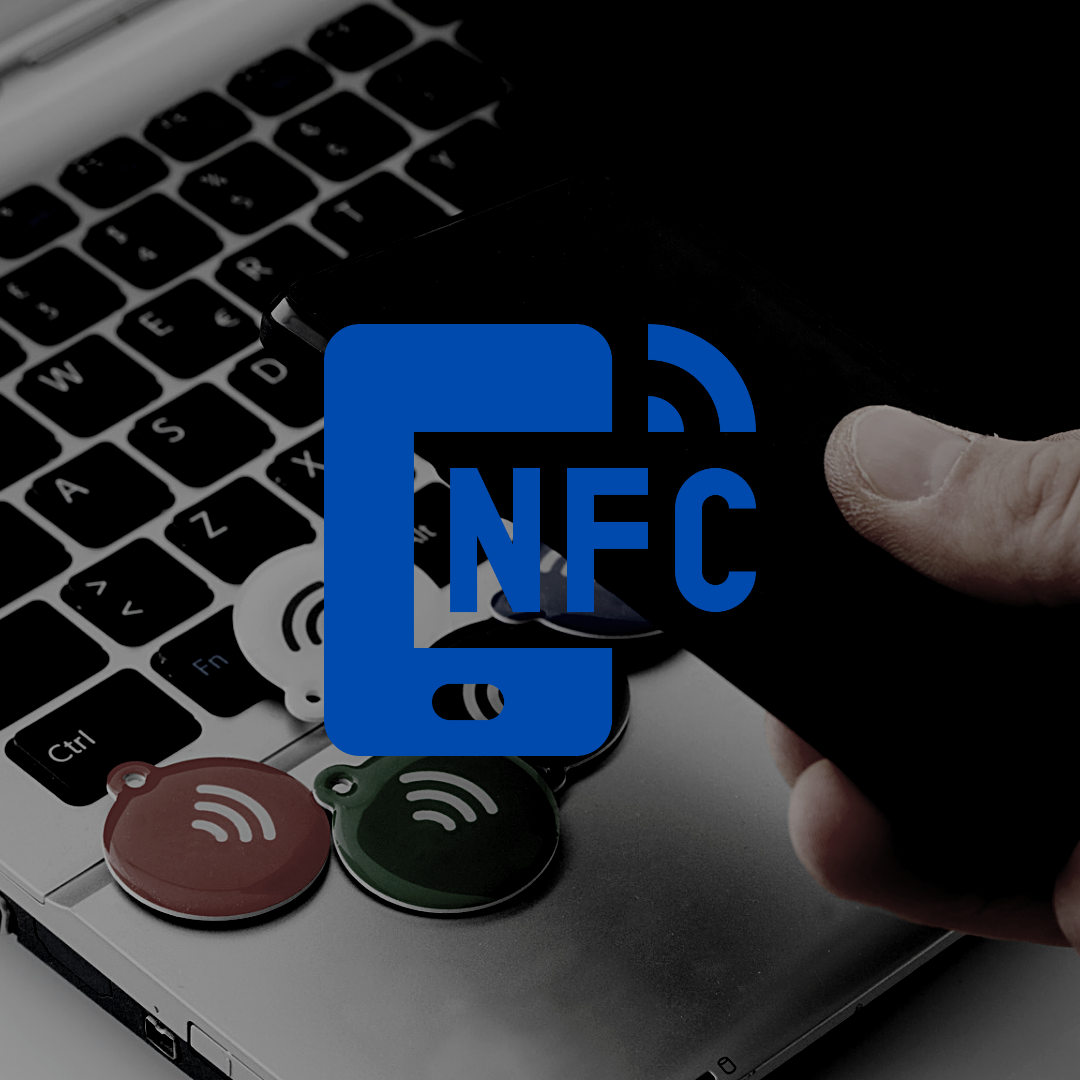
Near Field Communication (NFC) is a communication technology that allows data sharing between two NFC-enabled devices near each other – about 4cm or less. NFC tags use this technology to carry out tasks while communicating with other electronic devices like smartphones. So, programming NFC tags is something you may want to learn to automate some of your manual tasks.
To program NFC tags, you’ll need an open NFC tag, an NFC-compatible smartphone, and an app to program the tags. Begin by launching the app, creating a task, and writing on the tag. You’ll be able to include other features like tag protection and tracking abilities.
If you want a detailed guide on how to program your NFC tags step-by-step, this article is just what you need. We’ll talk about how to write your tag and use the programmed NFC tag. Let’s begin.
How Does Programming NFC Tags Work?
Programming an NFC tag involves writing the task you want to automate on the tag. This information is stored in the tag such that whenever an NFC-enabled device (e.g., smartphone) comes near the tag, it immediately performs the intended action.
Programming NFC tags is not such a complicated process. It doesn’t need you to be a tech guru, and it’ll only take you a few minutes once you have all the requirements.
Here are the steps to follow:
Get an NFC C-Compatible Smartphone
If you have an android device, check the specifications to ascertain that it’s compatible with NFC technology. For iPhone users, the handsets that can scan NFC tags are iPhone 7 or newer.
The reason your smartphone should be NFC-enabled is that you’ll use it to set the task you want to perform before writing that action on your NFC tag.
Get Some NFC Tags
An NFC tag is a tiny chip encased within a small card that can carry and transfer information using NFC technology.
These tags are inexpensive and can be easily bought online, e.g., on Amazon. Take, for example, DECEKI NTAG215 PVC Tags. They come in a set of 30 or 50 pieces. You can also go for Crystal Cube NTAG 215 NFC Tags since they have a strict 3M sticker to glue them to a surface.
Before purchasing the NFC tags, first, double-check that they are blank and not locked. If a tag is write-locked, you cannot reprogram it, so you won’t can’t use it for your tasks.
Install an NFC Tag Writing App
There are several free apps on the Google Play Store that you can use to program your NFC tags. Some of the apps are NXP TagWriter, Trigger, and NFC Tools.
For this tutorial, we’ll use the NFC TagWriter by NXP since it’s highly recommended and easy to use, even for first-time users. This app also offers many options when programming a tag, including:
- Business Card
- Link/URL
- WiFi
- Bluetooth
- Telephone Number
- Geo Location
- Launch an Application
- Plain Text
- SMS
We’ll explain how to write a URL/Link to the tag since launching a website is one of the most common tasks people use NFC tags. This way, you create a kind of shortcut for opening specific URLs. Whenever anyone gets close and taps the tag with their NFC-compatible phone, the link automatically opens on their smartphone.
Write the Tag
Launch the TagWriter app and select “Write Tag.” This will take you to a menu with the following options:
- My datasets
- New dataset
- Copy tag
- Write from CSV
- Copy QR Code
Select “New dataset.” This will take you to another menu outlining the different tasks you can create and write on your tag.
Since we’re going to write a Link/URL, choose the “Link” option.
Under “URL Type,” ensure you’ve selected “URL Website.” And below that, it’s written “Enter Website”, type in your desired URL.
Note: For the website to work properly, your URL must begin with the protocol “HTTPS://.”
There are two checkboxes below the website section:
- “Add Tag UID (mirror)” – This feature adds the tag’s Unique Identifier (UID) at the rare end of the link/URL. If you select this box, you enable the tracking ability to alert you about the number of people who used a specific NFC tag for the purpose of opening the intended website. When having several tags with similar Link/URL, you can use this feature to identify the one that performs best. Otherwise, leave it unchecked.
- “Add Interaction Counter (mirror)” – This function adds an incrementing numeral to the URL’s rare end to mark each user’s time interacted with the NFC tag. Leave this box blank if you don’t need to apply this feature.
Now select “Save & Write.”
Customize Your Written Tag Settings
On the subsequent screen, you’ll see your content details outlined at the top. Below that, there are several boxes with options to customize your tag settings. Here are the different options and what they each mean if you select them:
- Write multiple NFC tags (one by one) – This function will enable you to write similar content or tasks to multiple NFC tags.
- Protection – This is for protecting your tag. If you select this box, you’ll get the following options for different protection levels:
- Soft Protection: Prevents another user from over-writing on the tag. If you’d like to re-write on the same tag, you can first erase your previous content.
- Password Protection: To re-write the tag, one will need to input a unique password that you will create.
- Lock Tag – The tag will be read-only. There will be no way for anyone to re-write or erase it.
- Confirm Overwrite – Selecting this option sends the instruction to delete previous data on the tag and add the new data. Select this box every time you write a tag.
- Enable Interaction Counter – If you selected the box “Interaction Counter (mirror)”, that appeared on the previous screen, then you must check this box to enable that function.
After selecting all the relevant boxes, tap on “Write.”
Store or Share Your Content/Data
At this point, another window will appear, enquiring whether you’re ready to share or store the selected content. To do this, bring your smartphone close to the tag and tap it to the rear end.
Wait for about 2 to 5 seconds with the tag in the same spot to make sure it reads. If no new screen appears, move the tag to a different spot and wait for 2 to 5 seconds again until it reads.
Another screen will appear that enables you to “Confirm Overwrite.” Here, while holding the tag at the backside of the phone, select the button at the bottom that reads “Tap to confirm Store.”
Wait for some seconds to receive a confirmation message confirming “Write Successful.”
Note: If the last pop-up screen says, “Unsuccessful Write,” one of the most common reasons would be that the tag moved from its position before it could be written.
The solution is to hold the tag again for a few seconds.
Using Your NFC Tag
To confirm the tag was successfully written, exit the app, and go back to your home screen.
Tap the tag to the back of the smartphone. It may take a few seconds, and the website you wrote will open.
Note: If you haven’t yet set a preferred browser, your phone will ask for the browser at this point. Choose your preferred browser and select “Do Not Ask Again: So the next time, the URL will open smoothly without interruptions.


Thank you for this insightful post! I really appreciate the depth of information and the unique perspective you shared. It’s clear you put a lot of thought into your writing, and it truly resonates. Looking forward to reading more from you!
RFID Tags
UHF RFID Tags